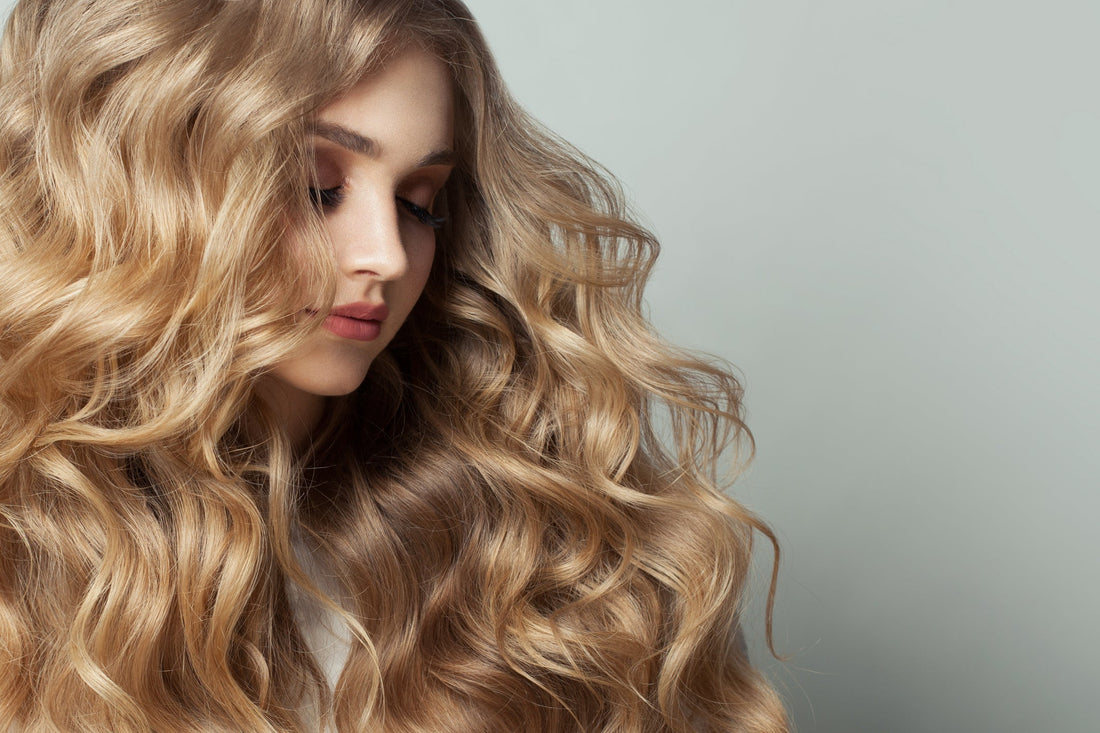
Big Natural Hair Don’t Care
Share
Anyone who knows me, they know I’m obsessed with hair. I try to protect it at all costs! I try to avoid anything that causes heat damage. So, I like to let my hair dry naturally in a hair wrap after a shower, and I used to braid and twist my hair overnight for natural curls. I still do it at times, depending on how I’m feeling. Meaning, that it can be uncomfortable sleeping with braids, heatless rods, rollers or whatever else. In times like this, yes, I do resort to some heat- heat rollers that is!
How to Create Everyday Tousled Waves
Here's a guide to achieving everyday, gorgeous tousled waves. This approach is perfect for preserving hair health, in comparison to harsher methods, while achieving effortless waves or defined curls.
Night (Before) Prep on Damp Hair
Add Moisture and Protectant
Apply Moroccanoil Treatment to help keep your strands nourished, as it locks in moisture. Let it set in before applying heat protectant, so your hair doesn’t feel weighed down. Then apply Aveda Heat Protectant Spray to coat your strands against heat damage.
Morning (After) Style on Dry Hair
Step1: I have tried so many different brands of heat rollers. The brand and type that has worked best for my fine hair are the Vidal Sassoon Jet Setter 1" ceramic rollers- they are perfect! There are only 5 rollers, but that’s all you’ll really need to get the job done. Turn on your hot rollers before you start your morning routine. I like to do my hair after changing but before applying make-up. I apply make-up while the rollers are setting in, so my hair is the last thing to finish before stepping out.
Step 2: Add Volume and Texture
Apply Design Essentials Mousse to add texture to create bouncier curls. It will also give you long-lasting volume, especially if you have fine hair like mine, making the curls look fuller.
Step 3: Section Your Hair
Divide your hair into 3 sections- the top (crown), the sides and the back (nape). Depending on your hair’s thickness and the style you want, you may opt for more or fewer sections. For defined, tighter curls, go for smaller sections. For looser waves, larger sections work best.
Step 4: Apply the Rollers
Grab the 1" roller and start with the crown section of your head. Wrap the hair around the roller, beginning at the ends and rolling upward toward the roots. Secure the roller in place, then repeat this for each section of your hair until all hair is rolled up. For long hair, leave the rollers in for 10 minutes. For shorter hair, leave them in for 5 minutes. If left in too long, your curls may come out more curlier than loose.
Step 5: Unroll and Style
Gently unroll each section and avoid tugging, which can create frizz. I like to loosen the curls with my fingers for a more natural look. Hair clip your hair at the crown- the clips with the big teeth work best because it’s like your fingers lightly holding your hair together and not pressing it down. Then hairspray the root of the crown and all underneath the hair in the nape, near your neck. Targeting these areas will help create volume.
Step 6: Add Finishing Touches
Remove the hair clip right before leaving for your destination. Do an all around spray for a lasting hold with SexyHair Big Spray throughout your hair, then flip your hair up and down. This finishing spray is light, it will give your curls definition and hold without making them feel crunchy.
And Voila! Let me know if you try this!